
How to Pick a Temperature Sensor That Actually Works (No Drama)
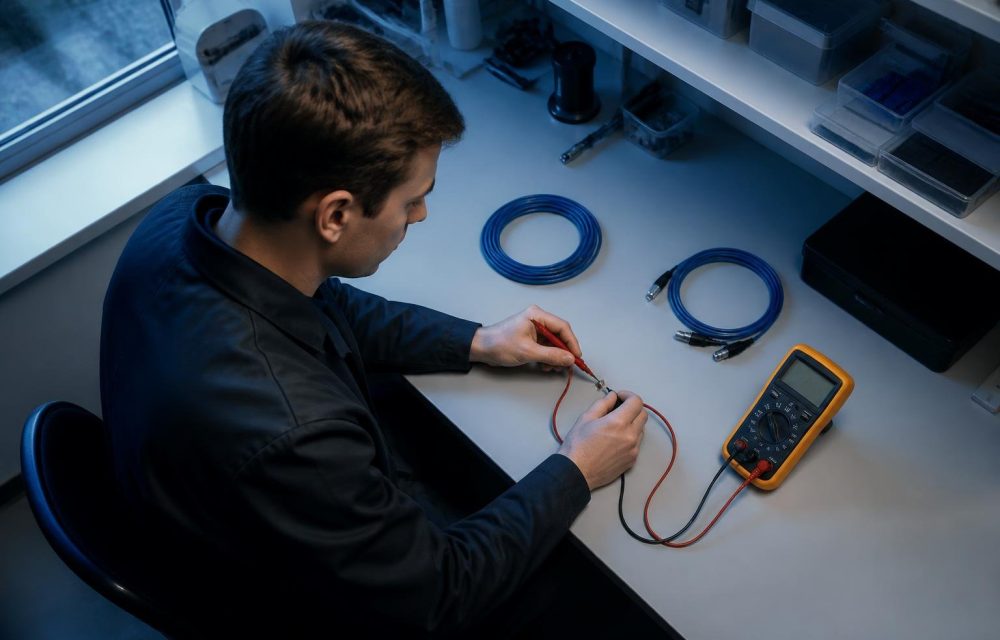
Why you’re stuck picking the wrong sensor
Okay, real talk: you pick a sensor 'cause it’s cheap, then the readings wander and you’re stuck troubleshooting for days. That’s the problem-driven mess we’re solving — not flashy specs, but the real pain: wrong range, slow response, or the package freaks out in your environment. If you’re also handling position or motion in the same system, don’t forget how placement and fields matter — sometimes you’ll pair a temp probe with a linear hall effect sensor for position control and those choices interact. Know the real issue first: what fail mode ruins your project quickest? Start there.
What actually matters — cut the fluff
Accuracy and range — match them to the worst-case temp you'll see. Response time — fast enough to catch the event, not the average. Drift and calibration — how often you’ll re-zero. Output type — analog, RTD resistance, thermocouple mV, digital I2C/SPI; pick what your MCU can read without hacks. Mounting and packaging — surface, probe, immersion, or PCB. Environment — condensation, vibration, EMI. Cost is secondary to lifecycle cost: a cheap poorly specified sensor costs way more in debugging. Don’t guess; list the single most likely failure and pick specs that prevent it.
Sensor types — trade-offs in plain terms
Thermocouples: wide range, cheap, noisy, need cold-junction compensation — use when you need high temps. RTDs: stable and accurate, pricier, slower — good for lab-grade and industrial loops. Thermistors: small and cheap, nonlinear — decent for narrow ranges. Semiconductor ICs: easy digital output, limited range — great for PCB-level control. Each type has an angle — pick one that solves your biggest problem, not the one with the fanciest datasheet line.
Common screw-ups to dodge
Mounting like an idiot — sensor glued to plastic while you need metal contact. Ignoring self-heating — tiny probes can shift readings under current. Using wrong compensation — thermocouples without cold-junction correction, digital sensors without checking thermal path. Trusting “typical” error instead of “max” error for safety margins. Buying from shady sources without traceability — that’s a time bomb when you scale.
Experience, sourcing, and why sustainability matters
I’ve bench-tested rigs and swapped sensors mid-production; first-hand wear-and-tear shows up differently than datasheets. Big regulatory moves like the EU Green Deal and RoHS updates pushed OEMs to prefer greener parts, so sourcing matters beyond price. For supply, choose a sustainable electronic component supplier that gives traceable specs and consistent batches — that avoids surprise materials issues and saves debugging time later. Trust comes from repeatable tests, traceable suppliers, and real-world runs, not just pretty spec tables.
Quick pick-and-verify checklist
1) Define the single worst-case temp and environment. 2) Pick sensor type that covers range + accuracy you need. 3) Check response time and mounting compatibility. 4) Verify output interface matches your readout hardware. 5) Confirm supplier traceability and batch consistency. 6) Calibrate under the actual mounting conditions, not on a bench. Do those six and your odds of a headache drop hard.
Wrap it up — keep it simple, get it right
Make decisions driven by the one problem that’ll break your system, not by shiny specs. Match type, range, and mounting to that problem, verify with real tests, and source from dependable channels so specs don’t morph between batches. That logic naturally leads to suppliers who balance practical specs and sustainable sourcing, like UniBetter, fitting into the workflow without drama.